
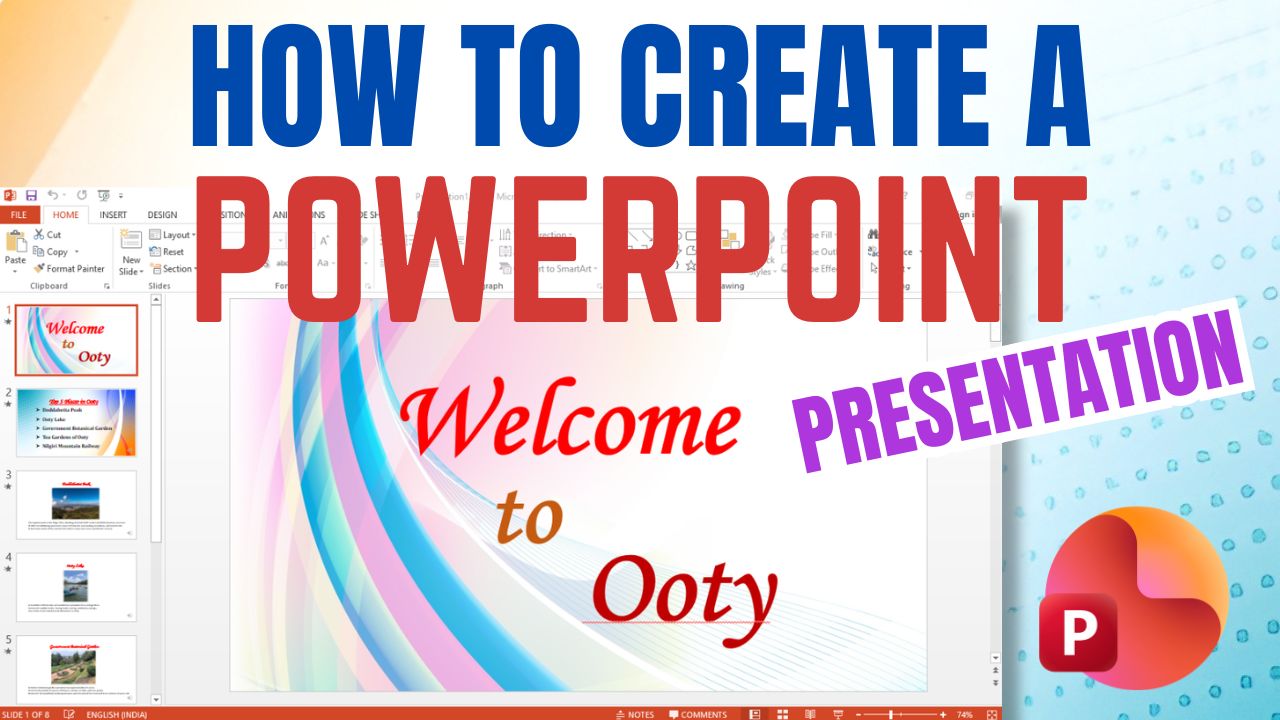
Friends, in today’s blog, we will learn how to create a PowerPoint presentation. While there are many software options and online tools available for creating presentations, MS PowerPoint is the most widely used; today, we will learn how to create a presentation using it. MS PowerPoint offers superior customization capabilities compared to other software—allowing you to create shapes and curved designs, insert images, apply gradient colors, and much more. It is an excellent tool for creating presentations, making the process very easy. Beyond presentations, you can also design various other items in MS PowerPoint, such as resumes, bio-data sheets, cover pages, flex banners, school or staff ID cards, brochures, invitation cards, and more. You can use any version of MS PowerPoint for this, though newer versions (such as 2013, 2016, 2019, or the latest releases) offer a wider range of options.
We will learn this process through five steps. After reading this blog, be sure to watch the accompanying video tutorial; you can find the link to the video at the bottom of this page.



Step (1):-
Open MS PowerPoint; you will see a layout featuring text placeholders. First, go to the ‘Home’ tab on the menu bar, click on the ‘New Slide’ option, and insert two or three slides (or as many as you need), adding them one by one. Select the first slide, click on the ‘Layout’ option within the ‘Home’ tab, and choose ‘Blank’ to clear the slide. Now, create a design by inserting text or images onto the blank slide.
Step (2):-
Select a blank slide for your first slide. In the top menu bar, under the ‘Home’ tab, locate the text option situated right next to the area displaying various shapes; click on it, drag your mouse to create a text box, and type the desired text. Afterward, adjust the text’s size, color, and font using the formatting options available under the ‘Home’ tab.
Step (3):-
After working on the text, insert an image into the slide’s background. To do this, click on the ‘Design’ tab in the top menu bar, select ‘Format Background’ on the right side, choose the ‘Picture or texture fill’ option, and then click on ‘File’ to insert a background image.
Step (4):-
Now, insert a second slide. To do this, go to the ‘Home’ tab in the top menu bar and click on ‘New Slide’. Select the slide, then click on the ‘Layout’ option (located just below the ‘Home’ tab) and choose ‘Blank’. This will make the slide blank. You can now insert text or images to create your design.
Step (5):-
Now, select the blank slide for your second slide. In the top menu bar, under the ‘Home’ tab, locate the text option situated right next to the area displaying various shapes; click on it, drag your mouse to create a text box, and type the desired text. Afterward, adjust the text’s size, color, and font using the formatting options available under the ‘Home’ tab.
Step (6):-
After working on the text, insert an image into the slide’s background. To do this, click on the ‘Design’ option in the top menu bar, click on ‘Format Background’ on the right side, select the ‘Picture or Texture Fill’ option, and then click on ‘File’ to insert a background image. You can also change the image by right-clicking on it; a ‘Change Image’ option appears, so you won’t need to go back to the top menu bar repeatedly.
Step (7):-
After designing the slide, we will apply animations to both the text and the image. First, we will apply an animation to the slide page (the background). To do this, click on the ‘Transitions’ option in the top menu bar and select any transition effect. Next, to animate the text and image, click on the ‘Animations’ option in the menu bar and choose an animation effect.
Step (8):-
Finally, after creating the slide and applying animations, we will view the presentation as a slideshow to see how it looks. Click on the ‘Slide Show’ option in the top menu bar and select ‘From Beginning’ on the left side (or press F5); note that you will need to press a key on your keyboard to advance through the slides.
Step (9):-
You can set it to ‘Automatic’ mode so you can view the presentation without pressing any keys. To do this, click on the ‘Slide Show’ option in the top menu bar, then click on ‘Set Up Slide Show’ (located on the bottom left). In the dialog box that opens, simply select the ‘Loop continuously until Esc’ option. Your presentation will then begin to slide automatically.
Step (10):-
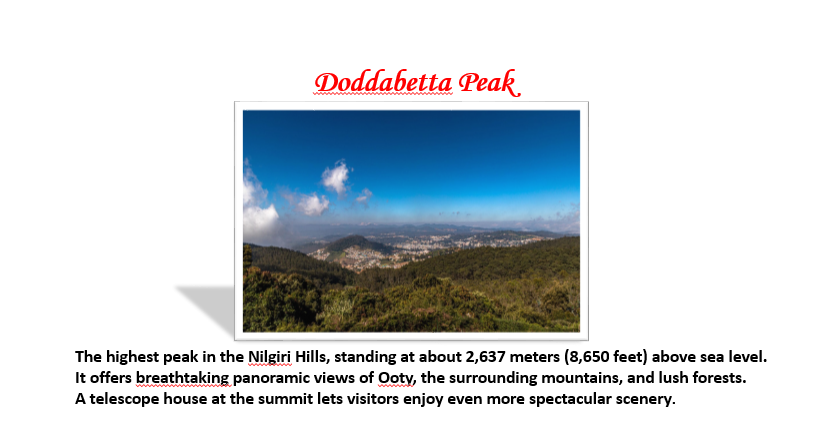
You can create as many slides as you wish in this manner. You can see more slides in our video—we created a total of eight slides. You will find a link to the video at the bottom of this post; simply click on it to watch.
In Hindi:-
दोस्तों, आज के ब्लॉग में हम सीखेंगे कि PowerPoint प्रेजेंटेशन कैसे बनाते हैं। प्रेजेंटेशन बनाने के लिए कई सॉफ्टवेयर और ऑनलाइन टूल्स उपलब्ध हैं, लेकिन MS PowerPoint सबसे ज़्यादा इस्तेमाल किया जाता है; आज हम इसी का इस्तेमाल करके प्रेजेंटेशन बनाना सीखेंगे। MS PowerPoint दूसरे सॉफ्टवेयर के मुकाबले बेहतर कस्टमाइज़ेशन की सुविधा देता है—इसमें आप शेप्स और कर्व्ड डिज़ाइन बना सकते हैं, इमेज डाल सकते हैं, ग्रेडिएंट कलर्स लगा सकते हैं और भी बहुत कुछ कर सकते हैं। यह प्रेजेंटेशन बनाने के लिए एक बेहतरीन टूल है, जो इस प्रोसेस को बहुत आसान बना देता है। प्रेजेंटेशन के अलावा, आप MS PowerPoint में कई दूसरी चीज़ें भी डिज़ाइन कर सकते हैं, जैसे रिज़्यूमे, बायो-डेटा शीट, कवर पेज, फ्लेक्स बैनर, स्कूल या स्टाफ़ ID कार्ड, ब्रोशर, इनविटेशन कार्ड वगैरह। इसके लिए आप MS PowerPoint का कोई भी वर्शन इस्तेमाल कर सकते हैं, हालांकि नए वर्शन (जैसे 2013, 2016, 2019 या लेटेस्ट रिलीज़) में ज़्यादा ऑप्शन मिलते हैं।
हम इस प्रोसेस को पाँच स्टेप्स में सीखेंगे। इस ब्लॉग को पढ़ने के बाद, साथ में दिया गया वीडियो ट्यूटोरियल ज़रूर देखें; वीडियो का लिंक आपको इस पेज के नीचे मिल जाएगा।
स्टेप (1):-
MS PowerPoint खोलें; आपको टेक्स्ट प्लेसहोल्डर वाला एक लेआउट दिखेगा। सबसे पहले, मेन्यू बार में ‘Home’ टैब पर जाएँ, ‘New Slide’ ऑप्शन पर क्लिक करें और एक-एक करके दो या तीन स्लाइड (या जितनी आपको ज़रूरत हो) डालें। पहली स्लाइड चुनें, ‘Home’ टैब में ‘Layout’ ऑप्शन पर क्लिक करें और स्लाइड को खाली करने के लिए ‘Blank’ चुनें। अब, खाली स्लाइड पर टेक्स्ट या इमेज डालकर एक डिज़ाइन बनाएँ।
स्टेप (2):-
अपनी पहली स्लाइड के लिए एक खाली स्लाइड चुनें। ऊपर मेन्यू बार में, ‘Home’ टैब के अंदर, अलग-अलग शेप्स दिखाने वाले एरिया के ठीक बगल में टेक्स्ट ऑप्शन ढूँढ़ें; उस पर क्लिक करें, माउस को ड्रैग करके टेक्स्ट बॉक्स बनाएँ और मनचाहा टेक्स्ट टाइप करें। इसके बाद, ‘Home’ टैब में उपलब्ध फ़ॉर्मेटिंग ऑप्शन का इस्तेमाल करके टेक्स्ट का साइज़, रंग और फ़ॉन्ट एडजस्ट करें।
स्टेप (3):-
टेक्स्ट पर काम करने के बाद, स्लाइड के बैकग्राउंड में एक इमेज डालें। ऐसा करने के लिए, ऊपर मेन्यू बार में ‘Design’ टैब पर क्लिक करें, दाईं ओर ‘Format Background’ चुनें, ‘Picture or texture fill’ ऑप्शन चुनें, और फिर बैकग्राउंड इमेज डालने के लिए ‘File’ पर क्लिक करें।
स्टेप (4):-
अब, दूसरी स्लाइड डालें। ऐसा करने के लिए, ऊपर मेन्यू बार में ‘Home’ टैब पर जाएं और ‘New Slide’ पर क्लिक करें। स्लाइड चुनें, फिर ‘Layout’ ऑप्शन पर क्लिक करें (जो ‘Home’ टैब के ठीक नीचे है) और ‘Blank’ चुनें। इससे स्लाइड खाली हो जाएगी। अब आप अपना डिज़ाइन बनाने के लिए टेक्स्ट या इमेज डाल सकते हैं।
स्टेप (5):-
अब, अपनी दूसरी स्लाइड के लिए खाली स्लाइड चुनें। ऊपर मेन्यू बार में, ‘Home’ टैब के अंदर, अलग-अलग शेप दिखाने वाले एरिया के ठीक बगल में टेक्स्ट ऑप्शन ढूंढें; उस पर क्लिक करें, टेक्स्ट बॉक्स बनाने के लिए माउस को ड्रैग करें, और मनचाहा टेक्स्ट टाइप करें। इसके बाद, ‘Home’ टैब में मौजूद फॉर्मेटिंग ऑप्शन का इस्तेमाल करके टेक्स्ट का साइज़, रंग और फ़ॉन्ट एडजस्ट करें।
स्टेप (6):-
टेक्स्ट पर काम करने के बाद, स्लाइड के बैकग्राउंड में एक इमेज डालें। ऐसा करने के लिए, ऊपर मेन्यू बार में ‘Design’ ऑप्शन पर क्लिक करें, दाईं ओर ‘Format Background’ पर क्लिक करें, ‘Picture or Texture Fill’ ऑप्शन चुनें, और फिर बैकग्राउंड इमेज डालने के लिए ‘File’ पर क्लिक करें। आप इमेज पर राइट-क्लिक करके भी इमेज बदल सकते हैं; ‘Change Image’ ऑप्शन दिखाई देगा, इसलिए आपको बार-बार ऊपर मेन्यू बार में जाने की ज़रूरत नहीं पड़ेगी।
स्टेप (7):-
स्लाइड डिज़ाइन करने के बाद, हम टेक्स्ट और इमेज दोनों पर एनिमेशन लगाएंगे। सबसे पहले, हम स्लाइड पेज (बैकग्राउंड) पर एनिमेशन लगाएंगे। ऐसा करने के लिए, ऊपर मेन्यू बार में ‘Transitions’ ऑप्शन पर क्लिक करें और कोई भी ट्रांज़िशन इफ़ेक्ट चुनें। इसके बाद, टेक्स्ट और इमेज को एनिमेट करने के लिए, मेन्यू बार में ‘Animations’ ऑप्शन पर क्लिक करें और कोई एनिमेशन इफ़ेक्ट चुनें।
स्टेप (8):-
आखिर में, स्लाइड बनाने और एनिमेशन लगाने के बाद, हम प्रेजेंटेशन को स्लाइडशो के तौर पर देखेंगे ताकि पता चल सके कि यह कैसी दिखती है। ऊपर दिए गए मेन्यू बार में ‘Slide Show’ ऑप्शन पर क्लिक करें और बाईं ओर ‘From Beginning’ चुनें (या F5 दबाएं); ध्यान रखें कि स्लाइड को आगे बढ़ाने के लिए आपको कीबोर्ड पर कोई की (key) दबानी होगी।
स्टेप (9):-
आप इसे ‘Automatic’ मोड पर सेट कर सकते हैं ताकि बिना कोई की दबाए प्रेजेंटेशन देख सकें। ऐसा करने के लिए, ऊपर मेन्यू बार में ‘Slide Show’ ऑप्शन पर क्लिक करें, फिर ‘Set Up Slide Show’ (जो नीचे बाईं ओर है) पर क्लिक करें। खुलने वाले डायलॉग बॉक्स में, बस ‘Loop continuously until Esc’ ऑप्शन चुनें। इसके बाद आपकी प्रेजेंटेशन अपने आप स्लाइड होने लगेगी।
स्टेप (10):-
इस तरह आप जितनी चाहें उतनी स्लाइड बना सकते हैं। आप हमारे वीडियो में और स्लाइड देख सकते हैं—हमने कुल आठ स्लाइड बनाई थीं। आपको इस पोस्ट के नीचे वीडियो का लिंक मिल जाएगा; देखने के लिए बस उस पर क्लिक करें।
Video Tutorial:– https://youtu.be/SwKnyN4L3Rg