
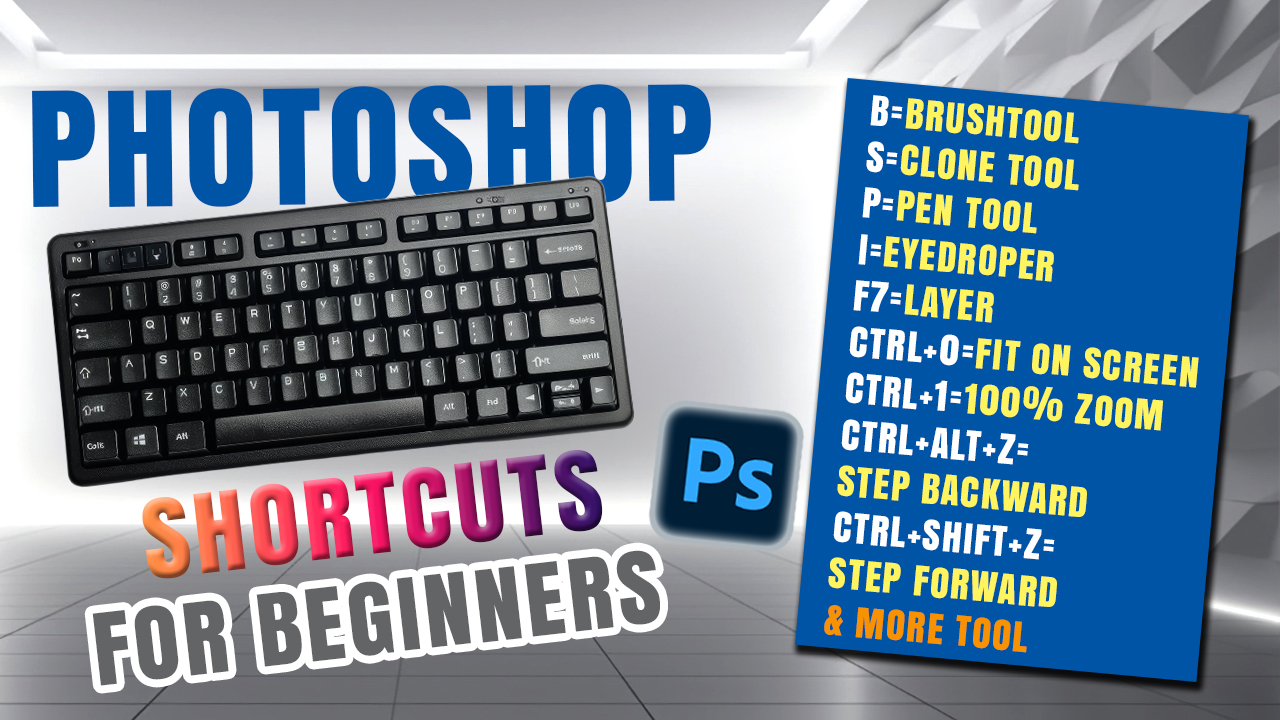
Friends, in today’s blog, we will learn about Photoshop keyboard shortcuts for beginners—specifically, how to use shortcut keys in Photoshop. We will cover some of the most important shortcuts; while there are many available, we will focus on the ones that are essential and widely used by professionals. We will be using the Photoshop software for this; it is better to work with a newer version (such as 19, 20, 23, or the latest releases) as they offer better performance and graphics. So, let’s learn these through 10 steps.
We will cover this process in three steps. After reading this blog, be sure to watch the accompanying video tutorial; you can find the link at the bottom of the page.
Step (1):-
Open Photoshop and press **Ctrl+O** on your keyboard for **Open**. This allows you to open any file or image.
Step (2):-
Open Photoshop and press **C** on your keyboard for **Crop**. This allows you to crop any image.
Step (3):-
Open Photoshop and use the following keyboard shortcuts for zooming: **Ctrl+ -** (minus) for **Zoom Out**, **Ctrl+ +** (plus) for **Zoom In**, **Ctrl+0** to **Fit on Screen**, **Ctrl+1** for **100% Zoom**, and **Alt + Left Mouse Click**.
Step (4):-
Open Photoshop and use **Ctrl+Alt+Z** for **Step Backward** and **Ctrl+Shift+Z** for **Step Forward**. These shortcuts allow you to move back and forth through your actions on the file or image.
Step (5):-
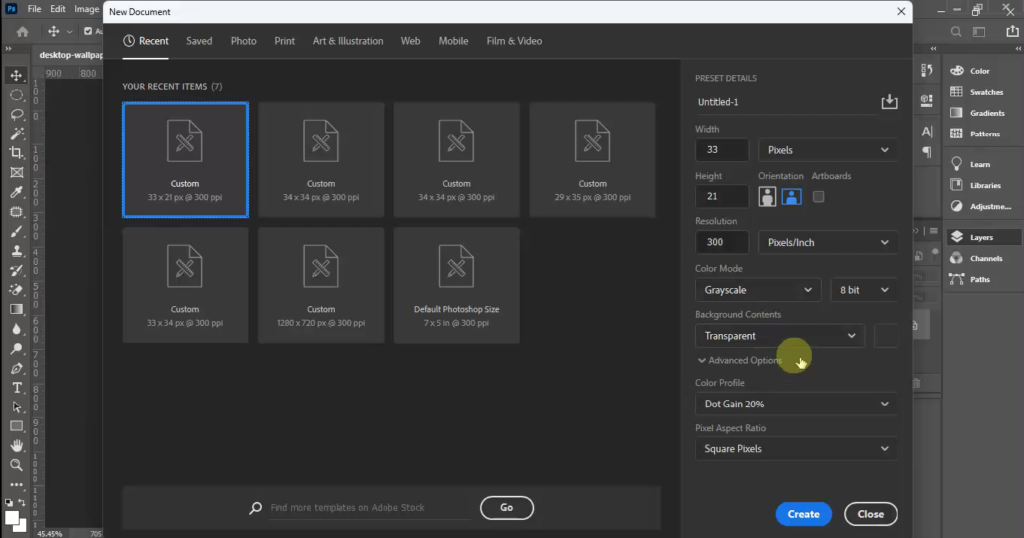
Open Photoshop and press **Ctrl+N** for **New Page**. This allows you to create a new page where you can specify the dimensions (height and width) and choose a background (such as white or transparent). Step (6):-
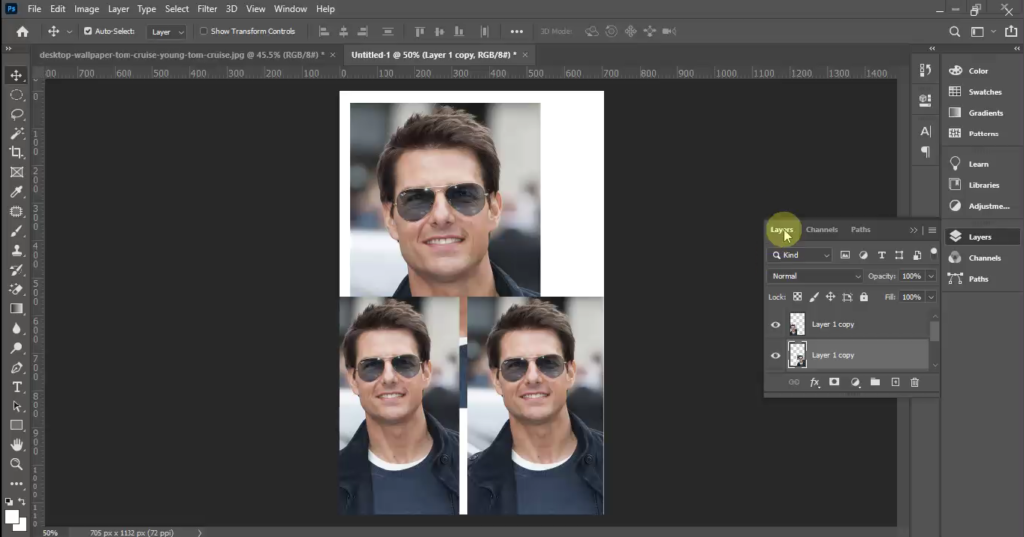
Using Photoshop shortcuts, you can copy an image in several ways. First, open the image in Photoshop, select it using Ctrl+A, and copy it with Ctrl+C; then, create a new page using Ctrl+N and paste the image using Ctrl+V. Alternatively, you can simply drag the image onto the new page. You can also copy an image by holding Ctrl+Alt while using the mouse.
Step (7):-
Open Photoshop and press ‘I’ on your keyboard to select the Eyedropper tool. This tool allows you to sample and fill any shape or text with a specific color.
Step (8):-
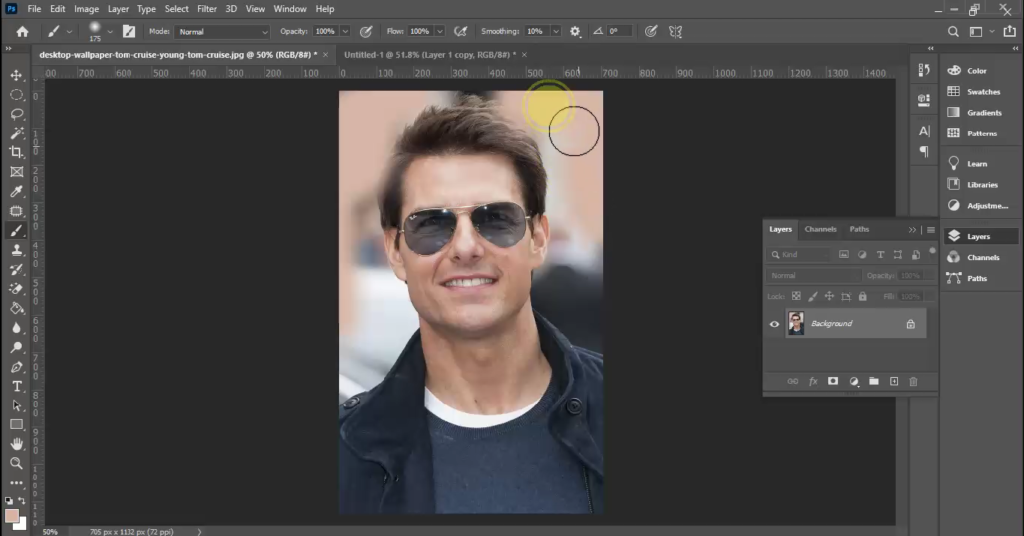
Open Photoshop and press ‘B’ on your keyboard to select the Brush Tool. This tool allows you to apply a specific color to any shape or image. To do this, press ‘B’, hold the Alt key while left-clicking on the area containing the desired color, and then use the Brush Tool to apply that color where needed.
Step (9):-
Open Photoshop and press ‘S’ on your keyboard to select the Clone Tool. Similar to the Brush Tool, this allows you to apply a specific color to a shape or image. Press ‘S’, hold the Alt key while left-clicking on the area with the desired color, and then use the Clone Tool to apply it. This tool is particularly effective for sampling and applying the exact same color.
Step (10):-
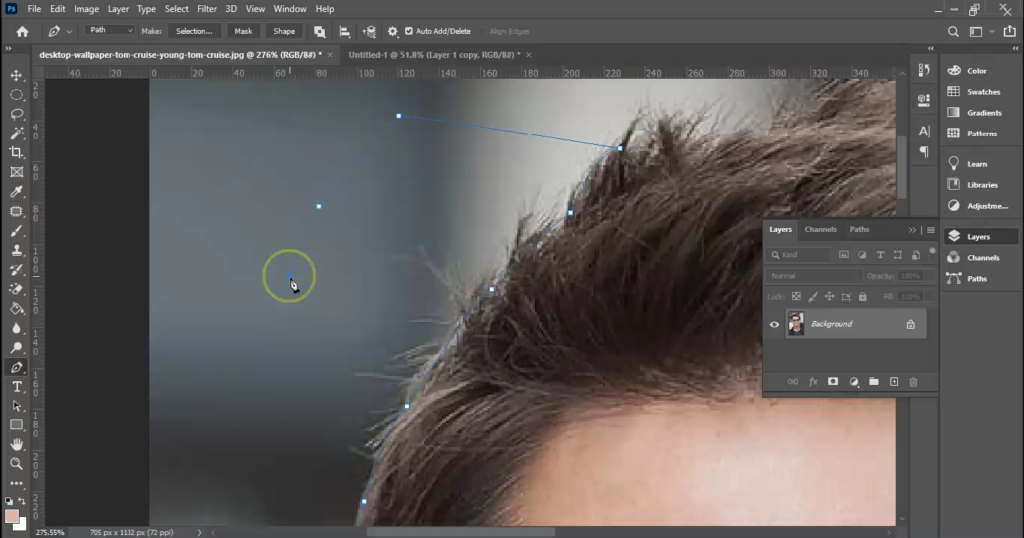
Open Photoshop and press ‘P’ on your keyboard to select the Pen Tool. This tool allows you to cut out the background of an image. Press ‘P’, then click and drag along the edges of the image whose background you wish to remove. At the point where you want to stop or change direction, hold Alt and left-click. Finally, press the Delete key; a box will appear—select the ‘Background’ option to remove the background.
In Hindi:-
दोस्तों, आज के ब्लॉग में हम शुरुआती लोगों के लिए फ़ोटोशॉप कीबोर्ड शॉर्टकट्स के बारे में जानेंगे—खासकर, फ़ोटोशॉप में शॉर्टकट कीज़ का इस्तेमाल कैसे करें। हम कुछ सबसे ज़रूरी शॉर्टकट्स के बारे में बात करेंगे; वैसे तो बहुत सारे शॉर्टकट्स उपलब्ध हैं, लेकिन हम उन पर ध्यान देंगे जो ज़रूरी हैं और प्रोफ़ेशनल्स द्वारा ज़्यादा इस्तेमाल किए जाते हैं। इसके लिए हम फ़ोटोशॉप सॉफ़्टवेयर का इस्तेमाल करेंगे; नए वर्शन (जैसे 19, 20, 23, या लेटेस्ट रिलीज़) पर काम करना बेहतर है क्योंकि वे बेहतर परफ़ॉर्मेंस और ग्राफ़िक्स देते हैं। तो, आइए 10 स्टेप्स में इन्हें सीखते हैं।
स्टेप (1):-
फ़ोटोशॉप खोलें और Open (ओपन) के लिए अपने कीबोर्ड पर Ctrl+O दबाएँ। इससे आप कोई भी फ़ाइल या इमेज खोल सकते हैं।
स्टेप (2):-
फ़ोटोशॉप खोलें और Crop (क्रॉप) के लिए अपने कीबोर्ड पर C दबाएँ। इससे आप किसी भी इमेज को क्रॉप कर सकते हैं।
स्टेप (3):-
फ़ोटोशॉप खोलें और ज़ूम करने के लिए इन कीबोर्ड शॉर्टकट्स का इस्तेमाल करें: Zoom Out (ज़ूम आउट) के लिए Ctrl+ – (माइनस), Zoom In (ज़ूम इन) के लिए Ctrl+ + (प्लस), Fit on Screen (स्क्रीन पर फ़िट करने) के लिए Ctrl+0, 100% Zoom (100% ज़ूम) के लिए Ctrl+1, और Alt + Left Mouse Click (Alt + माउस का बायाँ बटन क्लिक)।
स्टेप (4):-
फ़ोटोशॉप खोलें और Step Backward (एक स्टेप पीछे जाने) के लिए Ctrl+Alt+Z और Step Forward (एक स्टेप आगे जाने) के लिए Ctrl+Shift+Z का इस्तेमाल करें। ये शॉर्टकट्स आपको फ़ाइल या इमेज पर किए गए अपने कामों में आगे-पीछे जाने की सुविधा देते हैं।
स्टेप (5):-
फ़ोटोशॉप खोलें और New Page (नया पेज) के लिए Ctrl+N दबाएँ। इससे आप एक नया पेज बना सकते हैं जहाँ आप डाइमेंशन (ऊँचाई और चौड़ाई) तय कर सकते हैं और बैकग्राउंड (जैसे सफ़ेद या ट्रांसपेरेंट) चुन सकते हैं।
स्टेप (6):-
फ़ोटोशॉप शॉर्टकट्स का इस्तेमाल करके, आप कई तरीकों से इमेज को कॉपी कर सकते हैं। सबसे पहले, फ़ोटोशॉप में इमेज खोलें, Ctrl+A का इस्तेमाल करके उसे चुनें और Ctrl+C से कॉपी करें; फिर, Ctrl+N का इस्तेमाल करके एक नया पेज बनाएँ और Ctrl+V का इस्तेमाल करके इमेज को पेस्ट करें। इसके अलावा, आप इमेज को सीधे नए पेज पर ड्रैग भी कर सकते हैं। आप माउस का इस्तेमाल करते समय Ctrl+Alt दबाकर भी इमेज को कॉपी कर सकते हैं।
स्टेप (7):-
Photoshop खोलें और Eyedropper टूल चुनने के लिए अपने कीबोर्ड पर ‘I’ दबाएँ। यह टूल आपको किसी भी शेप या टेक्स्ट में एक खास रंग भरने या उसका सैंपल लेने की सुविधा देता है।
स्टेप (8):-
Photoshop खोलें और Brush Tool चुनने के लिए अपने कीबोर्ड पर ‘B’ दबाएँ। यह टूल आपको किसी भी शेप या इमेज पर एक खास रंग लगाने की सुविधा देता है। ऐसा करने के लिए, ‘B’ दबाएँ, जिस हिस्से में मनचाहा रंग है, वहाँ Alt की (key) दबाए रखते हुए लेफ्ट-क्लिक करें, और फिर जहाँ ज़रूरत हो, वहाँ Brush Tool का इस्तेमाल करके वह रंग लगाएँ।
स्टेप (9):-
Photoshop खोलें और Clone Tool चुनने के लिए अपने कीबोर्ड पर ‘S’ दबाएँ। Brush Tool की तरह ही, यह भी आपको किसी शेप या इमेज पर एक खास रंग लगाने की सुविधा देता है। ‘S’ दबाएँ, जिस हिस्से में मनचाहा रंग है, वहाँ Alt की (key) दबाए रखते हुए लेफ्ट-क्लिक करें, और फिर उसे लगाने के लिए Clone Tool का इस्तेमाल करें। यह टूल बिल्कुल वैसा ही रंग सैंपल करने और लगाने के लिए बहुत असरदार है।
स्टेप (10):-
Photoshop खोलें और Pen Tool चुनने के लिए अपने कीबोर्ड पर ‘P’ दबाएँ। यह टूल आपको किसी इमेज का बैकग्राउंड हटाने की सुविधा देता है। ‘P’ दबाएँ, फिर उस इमेज के किनारों पर क्लिक करें और ड्रैग करें जिसका बैकग्राउंड आप हटाना चाहते हैं। जिस पॉइंट पर आप रुकना या दिशा बदलना चाहते हैं, वहाँ Alt दबाएँ और लेफ्ट-क्लिक करें। आखिर में, Delete की (key) दबाएँ; एक बॉक्स दिखेगा—बैकग्राउंड हटाने के लिए ‘Background’ ऑप्शन चुनें।
Video Tutorial:- https://youtu.be/j1ut20fgK0s