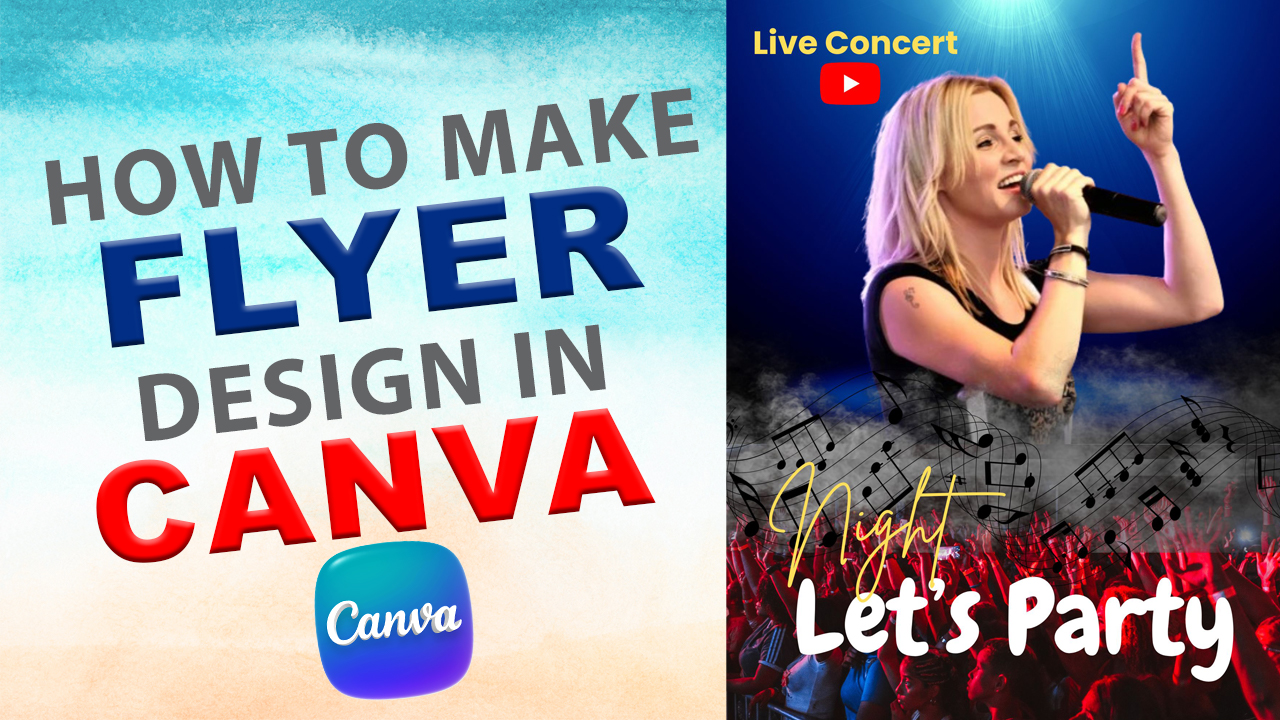
Friends, in today’s blog, we will learn how to design a flyer in Canva. Even if you have just a basic understanding of Canva, you can create a great-looking flyer design. While you can create flyers using various applications, Canva allows you to design flyers that look truly professional. Although flyers are often created using software like Photoshop or CorelDRAW, today we will use Canva to design one—specifically, a flyer for a music concert. You can create high-quality, graphic-rich flyer designs in Canva. So, let’s learn how to do this in 7 steps.
We will cover this process in 7 steps. After reading this blog, be sure to watch the video tutorial; you can find the link to the video at the bottom of the page.
Step (1):-
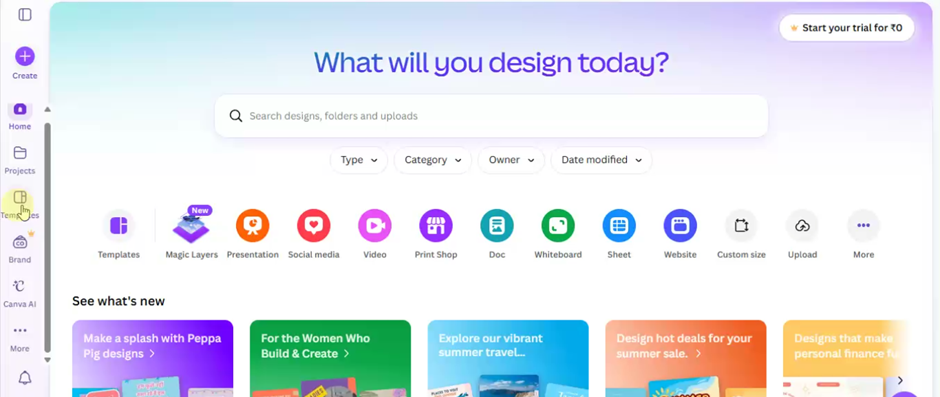
First, go to Google, search for “Canva,” and log in using an email ID to access the Canva dashboard. Click on the “Templates” option on the left side and type “Flyer” in the search bar. You will see many ready-made flyer templates; you can select any of them to create a great flyer, or you can start from a blank page.
Step (2):-
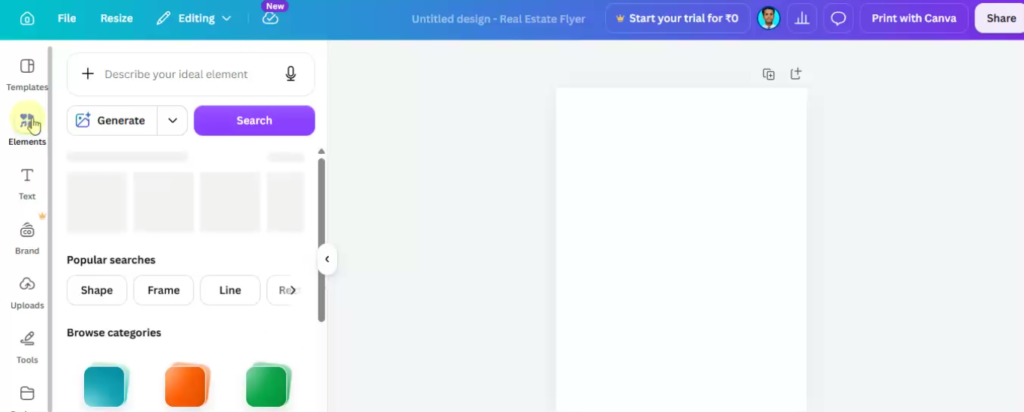
To create a flyer from scratch, click on the “Create Blank” box; this will open a blank page. Next, you need to select a background that suits your flyer design. Click on the “Elements” option on the left side and type “Spotlight” in the search bar. You will see various spotlight options; choose one that makes for a good background. Step (3):-
Click on the ‘Elements’ option on the left side again. Type “Crowd” in the search bar; you will find various crowd background options. Select one that matches the flyer’s theme and position it beneath the ‘Spotlight’ background.
Step (4):-
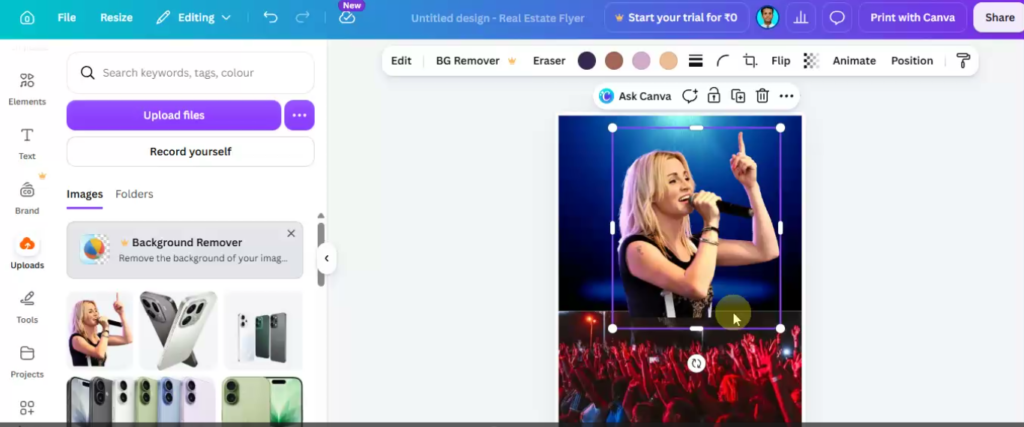
Click on ‘Elements’ again and type “Singer Icon” in the search bar. Select a singer icon and place it in the center of the page. However, it is best to search for a singer icon on Google and remove its background so that it is in PNG format.
Step (5):-
Click on ‘Elements’ again and type “Smoke” in the search bar. Select a smoke graphic and place it in the center of the page. Again, it is best to search for a smoke image on Google and remove its background to ensure it is in PNG format.
Step (6):-
Click on ‘Elements’ again and type “Music Icon” in the search bar. Select a music icon and place it in the center of the page. As before, it is best to search for a music icon on Google and remove its background so that it is in PNG format.
Step (7):-
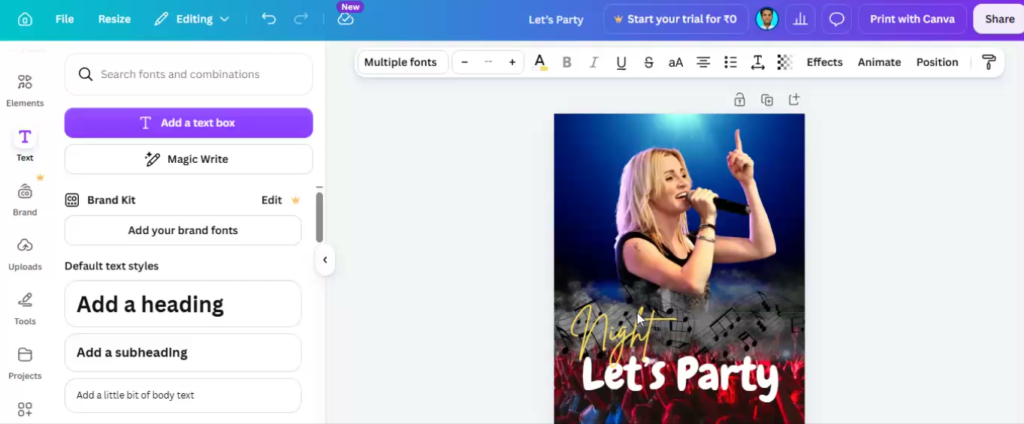
Now, click on the ‘Text’ option on the left side and type a suitable heading for the flyer; you can also add a slogan and a logo. Finally, click on the ‘Share’ option at the top right to download the flyer.
In Hindi:-
दोस्तों, आज के ब्लॉग में हम सीखेंगे कि Canva में फ़्लायर कैसे डिज़ाइन करें। अगर आपको Canva की थोड़ी-बहुत भी जानकारी है, तो भी आप बहुत अच्छा फ़्लायर डिज़ाइन बना सकते हैं। वैसे तो फ़्लायर कई ऐप्स से बनाए जा सकते हैं, लेकिन Canva से आप ऐसे फ़्लायर डिज़ाइन कर सकते हैं जो एकदम प्रोफ़ेशनल दिखते हैं। आम तौर पर फ़्लायर Photoshop या CorelDRAW जैसे सॉफ़्टवेयर से बनाए जाते हैं, लेकिन आज हम Canva का इस्तेमाल करके एक फ़्लायर डिज़ाइन करेंगे—खासकर, एक म्यूज़िक कॉन्सर्ट के लिए फ़्लायर। Canva में आप हाई-क्वालिटी और अच्छे ग्राफ़िक्स वाले फ़्लायर डिज़ाइन बना सकते हैं। तो चलिए, 7 स्टेप्स में सीखते हैं कि यह कैसे करना है।
हम इस प्रोसेस को 7 स्टेप्स में पूरा करेंगे। इस ब्लॉग को पढ़ने के बाद, वीडियो ट्यूटोरियल ज़रूर देखें; वीडियो का लिंक पेज के नीचे दिया गया है।
स्टेप (1):-
सबसे पहले Google पर जाएं, “Canva” सर्च करें और Canva डैशबोर्ड तक पहुँचने के लिए अपनी ईमेल ID से लॉग इन करें। बाईं ओर दिए गए “Templates” ऑप्शन पर क्लिक करें और सर्च बार में “Flyer” टाइप करें। आपको कई बने-बनाए फ़्लायर टेम्प्लेट दिखेंगे; आप उनमें से किसी को भी चुनकर एक बढ़िया फ़्लायर बना सकते हैं, या फिर एक खाली पेज से शुरुआत कर सकते हैं।
स्टेप (2):-
शुरू से फ़्लायर बनाने के लिए, “Create Blank” बॉक्स पर क्लिक करें; इससे एक खाली पेज खुल जाएगा। इसके बाद, आपको एक ऐसा बैकग्राउंड चुनना होगा जो आपके फ़्लायर डिज़ाइन के हिसाब से हो। बाईं ओर दिए गए “Elements” ऑप्शन पर क्लिक करें और सर्च बार में “Spotlight” टाइप करें। आपको कई स्पॉटलाइट ऑप्शन दिखेंगे; उनमें से कोई एक चुनें जो बैकग्राउंड के लिए अच्छा लगे।
स्टेप (3):-
बाईं ओर दिए गए ‘Elements’ ऑप्शन पर फिर से क्लिक करें। सर्च बार में “Crowd” टाइप करें; आपको भीड़ वाले बैकग्राउंड के कई ऑप्शन मिलेंगे। फ़्लायर की थीम से मेल खाने वाला कोई एक ऑप्शन चुनें और उसे ‘Spotlight’ बैकग्राउंड के नीचे सेट करें।
स्टेप (4):-
‘Elements’ पर फिर से क्लिक करें और सर्च बार में “Singer Icon” टाइप करें। एक सिंगर आइकन चुनें और उसे पेज के बीच में रखें। हालाँकि, सबसे अच्छा यही रहेगा कि आप Google पर सिंगर आइकन सर्च करें और उसका बैकग्राउंड हटा दें ताकि वह PNG फ़ॉर्मेट में हो।
स्टेप (5):-
‘Elements’ पर फिर से क्लिक करें और सर्च बार में “Smoke” टाइप करें। एक स्मोक ग्राफ़िक चुनें और उसे पेज के बीच में रखें। बेहतर होगा कि आप Google पर स्मोक इमेज खोजें और उसका बैकग्राउंड हटा दें ताकि वह PNG फ़ॉर्मेट में हो।
स्टेप (6):-
‘Elements’ पर फिर से क्लिक करें और सर्च बार में “Music Icon” टाइप करें। एक म्यूज़िक आइकन चुनें और उसे पेज के बीच में रखें। पहले की तरह, बेहतर होगा कि आप Google पर म्यूज़िक आइकन खोजें और उसका बैकग्राउंड हटा दें ताकि वह PNG फ़ॉर्मेट में हो।
स्टेप (7):-
अब, बाईं ओर ‘Text’ ऑप्शन पर क्लिक करें और फ़्लायर के लिए एक सही हेडिंग टाइप करें; आप स्लोगन और लोगो भी जोड़ सकते हैं। आखिर में, फ़्लायर डाउनलोड करने के लिए ऊपर दाईं ओर ‘Share’ ऑप्शन पर क्लिक करें।
Video Tutorial:-https://youtu.be/Jr6tfUWYOyg